Saturday, February 26, 2011

How to make a free swift out of stuff you already have!


That is a rolling desk chair and two pillows, I have faith that everybody can figure out how assemble it into a swift without step by step instructions.

Saturday, February 19, 2011

How to make awesome rolags from combed top without carding anything! (but you do need a pair of hand carders)

I prefer spinning from rolags these days but all I have around the house is combed top, this is how I turn my top into rolags without a mess or much effort

First I break the top up into chunks after weighing it, when I spin rolags I typically spin them x# of white to x# of colored rolags so I need to count how many I'm making. This is 4oz of white merino broken into 34 pieces.


Take one of your carders and lay it across your leg like this


Lay your piece of top down on the carder like this

Push down on the fiber with your hand so it all goes into the carder and hold your hand there


While holding your hand there, grab the top with your other hand (using the pressure from your hand that's on the carder to keep it from moving) and pull until you get a nice neat amount pulled off on the carder


Fill up the carder evenly


Roll it up like a rolag you just carded :)

Friday, February 18, 2011

yay hand carders!

I have been wanting to buy myself hand carders for a while now, but just like a ball winder, I look at it and look at it and think about it and put it in my shopping cart and think some more and then don't buy it. BUT! unlike a ball winder I finally got a set! they're used, but they're really pretty and I'm so happy with them! rolags are so much fun to spin from and I love using the hand carders to mix colors together <3

Sunday, February 13, 2011

how to make an andean plying bracelet using a book and an index card

I suck at andean plying on my hand, it really hurts and I hate it but it is my absolute favorite method of plying once the nightmare of making the bracelet is over. I've tried lots of ways to avoid hurting my fingers like using a size 15 needle held against my hand instead of my finger, using a little DPN... stuff like that never works but using a book and an index card does such a great job!

First grab a book, better if it's one that isn't pretty anymore and has been very loved. It won't mess up your pages but it could make the cover get bent. Also get an index card or a popsicle stick, I'm a college student so I have tons of index cards and use one folded up in 3 even sections like this.


Step 2: Just stick your index card in the middle of the pages, it's best if you put it near the center of both length and width of the book.
Step 3: Put the tail in the middle of the pages so you don't lose it (I'm using already plyed yarn for the demo because I don't have anything that needs plying at the moment)


Step 4: Wrap the yarn around the back of the book around the index card


Step 5: Loop around the front so that the string crosses in an x on the spine of the book. I wrapped from right to left on the back of the book and right to left on the front of the book, when I bring the yarn to the back of the book I move it over to the right again (I hope that makes sense). Basically, always start your loops on the right which will force the string to cross at the spine. 


Just keep wrapping like you're doing a normal plying bracelet!
Remember that it's the overlapping sections of loop that hold the bracelet together so make sure to pile the loops over each other a lot and don't just build straight up the index card 

Your final bracelet should look at a lot like this


Enjoy not making your fingers turn blue!


Thursday, February 10, 2011

Lace weight love

So I've been spinning like a mad lady these days. I've made...


Merino thick and thin spun long draw which I LOVE doing! I had no idea how awesome it is but it's just so satisfying to pull long lengths of yarn out of clumps of rolag


This yarn came out to 2.7oz and 118 yards and was sold on etsy today :)


and I've spun my first lace weight yarn, I love it! This was done on my lark, the first ball is sitting under the lark and I'm spinning some insanely thin (I think it would be considered cobweb) on it right now, attempting to wind it on so it looks pretty, unlike the first ball. 


0.9oz 120 yards of lace weight :) 


Here is my attempt at a pretty wind on with the cobweb yarn!


It turns out I can spin lace weight on my wheel too, didn't think that would work out well


... and I still haven't finished the mittens :(

Saturday, February 5, 2011

I am a very happy yarn nerd

My wonderful mom got me a Jenkin's turkish spindle for valentines day! They even did two different woods for the arms of my spindle, one is pink ivory and the other is purple heart. It spins so nicely, I've only had one other drop spindle and it was so big and clunky, this is a totally different spinning experience than my other spindle and I'm already in love! I really want to make a video of it spinning because I just can't get over how fast and long it spins for!

If you've ever even considered trying spinning, go to http://jenkinswoodworking.com/ and buy a spindle, I can't believe how awesome this spindle is!

and now for photos of how cute it is!

This is a Lark, and I also bought the shaft that converts it into a Jay... I'm not sure which I like better yet.


Just for a sense of the scale, this spindle is tiny!

The Jay shaft


Sunday, January 30, 2011

stitch markers, thrummed mittens and behavioral neuroscience labs

Since school started I've been pretty busy with stuff so there hasn't really been much to update about....

I started making a pair of thrummed mittens which are really fun, I'm afraid I'll run out of yarn before they're finished though, hopefully that won't happen. That's one of the bad things about using handspun hand dyed yarn, if you run out there isn't any more in that color.

Here's the pattern I'm using for the mittens This line absolutely terrified me Next Round: Knit to last 11 sts. Slip next 10 sts onto stitch holder for thumb. Cast on 10 sts. k1. Continue until mitt but I've started to learn that things are usually as simple as they seem to be, all I had to do was slip those 10 stitches and cast 10 onto the right needle and knit the last one and keep going, I don't know why it seemed so scary at first. 


Photos!


That one kind of reminds me of sea worms... 


 The thumb worked!


Friday, January 21, 2011

spinning cotton balls! (so annoying)

As a completely crazy person I decided that it's a good idea to try spinning cotton balls... what a pain in the butt. I'll get it eventually though it's got a weird feeling to it and it falls apart super easily. Overall it's pretty fun and I'm going to work on it slowly when I have time to play with it. Here's some photos (big surprise!) of the adventure so far...


They were kind of rolled up into what looks like little strips of roving


Here it is unrolled


This is what I got... on the left is unplyed and on the right is plyed 

I would suggest not doing this unless you're crazy


Wednesday, January 19, 2011

my first time microwave dyeing with kool-aid

I took the big chunky singles I made the other day and microwave dyed them, it's really simple... you literally just fill a bowl with water and kool-aid and pop it in the microwave for 4 minutes at a time until the water is clear and you're done! I should start making youtube videos about this stuff one of these days


Tuesday, January 18, 2011

Cocoons!

I've got a little non yarn news that I'm just way too excited about... I got my first choice undergraduate research position working in a cognition lab! but now for yarn stuff

I've been super curious about silk cocoons for a while now, I like these youtube videos a lot


so after days and days of wandering around etsy and google and all over the internet I finally bought these on etsy, this seller is wonderful she actually sent me 76 cocoons when my order was for 50! how awesome is that?

They came today! they're so cute and they're a lot sturdier than I expected them to be... I'll probably spend a while longer wandering around the internet looking for information before I actually do anything with these adorable little cocoons but when I finally do something I'll take lots of photos as usual!


Monday, January 17, 2011

I'm kinda boring

I've hit a bit of a lull, nothing really exciting to babble about. I'm just making tons of plain pretty white merino yarn for a scarf I want to make myself. I'll add some photos later, for now I need to clean up the explosion that happened in my living room when I half unpacked.

Saturday, January 15, 2011

Frankenstein's monster electric spinning wheel

I have a really cool grandpa, probably the coolest ever. He made me an electric spinning wheel and it's so awesome, it's based on the electric eel wheel but it uses a sewing machine motor so it has a foot pedal. There's random holes in it and epoxy and hot glue everywhere but I think it's pretty badass. I'm pretty sure this is going to be V1.0 and it is eventually going to be rebuilt with a pretty box and less glue all over the place but for now I like it.

This spinning wheel is a hilarious contrast to the wheel I already have. My daily wheel is a kromski sonata which is an absolutely beautiful full sized wheel with a walnut finish.

Here are some photos of my new monster.


It's kind of hard to tell from the photos, it's basically a wooden box with a motor screwed onto the side, that motor is attached to the giant flyer which has a huge bobbin on it. There are straps on the side which I can put over my shoulder and it hangs like a messanger bag. 


Friday, January 14, 2011

playing with plying

In my quest to not have extra yarn on one bobbin while plying (so annoying) I've been trying out different plying methods. I tried N-plying and it definitely has it's uses, like if the yarn has big chunks of color... but for every day plying I'm not a huge fan. It leaves little bumps in the yarn and kind of hurts my back because you have to do a lot of moving (which is why I switched from a drop spindle to a wheel). My friend Jack told me to check out Andean plying and I found this youtube video!


I basically adopted it for a wheel, instead of turning the bracelet into a center pulled ball (I HATE those! they always make a mess) I wrapped it back onto one of my kromski bobbins and than plyed on my wheel.  The only things that are annoying are because of how I hold yarn while plying (I separate the two strands between my fingers, so they don't start getting twisty until after my hand) it kind of knotted up behind my fingers a little and I had to stop separating the strands and just pull the yarn through my fingers tightly to keep it from bunching up. Also you don't get a huge bobbin of yarn like you do going from two full 4oz bobbins. Overall I liked it way better than the two bobbin method for my own yarn but if I'm selling it I'll stick with two bobbins because people tend to like bigger skeins.

Wednesday, January 12, 2011

navajo plying.. so weird

Today I decided to give navajo plying a shot, I keep hearing about how great it is. Here's what I came up with... it's pretty messy and I had a tough time with this first little batch. I'm considering using some commercial yarn and running it through my spinning wheel to practice because I hate wasting wool.


These 3 youtube videos are what I watched (and in this order) before I attempted it myself. I feel like the last video helped a lot but would have been useless without the first one.

Tuesday, January 11, 2011

This yarn has been a beast

I've been trying to make this yarn since the day after christmas, for some reason spinning it has been a giant pain in the butt but I finally finished yesterday. I didn't weigh it yet but it should weigh 4.0oz and it came out to be 240 yards.


Now I just need to set the twist and make it all pretty so I can put it up on etsy :)


Friday, January 7, 2011

Because I forget stuff

I found a cool scarf pattern that I want to use for my winter scarf but there's an error in the pattern, so I'm rewriting it here because I'll forget it's wrong and mess up my scarf.

CO 52 sts
Row 1: P10, K6, P4, (K4, P4) twice, K6, P10
Row 2: (right side) K2, C4F twice, P6, C4B, (P4, C4B) twice, P6, K2, C4F twice
Row 3: P10, K6, P4, (K4, P4) twice, K6, P10
Row 4: C4B twice, K2, P5, T3B, (T4F, T4B) twice, T3F, P5, C4B twice, K2
Row 5: P10, K5, P2, K3, P4, K4, P4, K3, P2, K5, P10
Row 6: K2, C4F twice, P4, T3B, P3, C4F, P4, C4F, P3, T3F, P4, K2, C4F twice
Row 7: P10, K4, P2, K4, (P4, K4) twice, P2, K4, P10
Row 8: C4B twice, K2, P4, K2, P3, T3B, T4F, T4B, T3F, P3, K2, P4, C4B twice, K2
Row 9: P10, K4, (P2, K3) twice, P4, (K3, P2) twice, K4, P10
Row 10: K2, C4F twice, P4, (K2, P3) twice, C4B, (P3, K2) twice, P4, K2, C4F twice
Row 11: P10, K4, (P2, K3) twice, P4, (K3, P2) twice, K4, P10
Row 12: C4B twice, K2, P4, K2, P3, T3F, T4B, T4F, T3B, P3, K2, P4, C4B twice, K2
Row 13: P10, K4, P2, K4, (P4, K4) twice, P2, K4, P10
Row 14: K2, C4F twice, P4, T3F, P3, C4F, P4, C4F, P3, T3B, P4, K2, C4F twice
Row 15: P10, K5, P2, K3, P4, K4, P4, K3, P2, K5, P10
Row 16: C4B twice, K2, P5, T3F, (T4B, T4F) twice, T3B, P5, C4B twice, K2
Repeat these 16 rows until desired length.

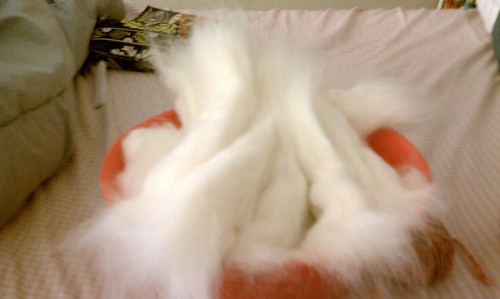
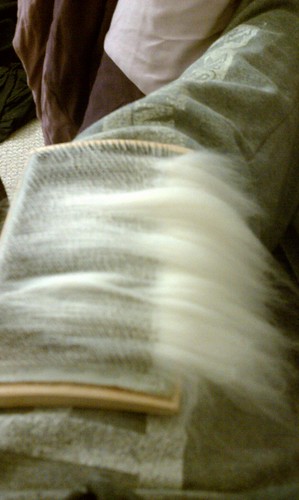
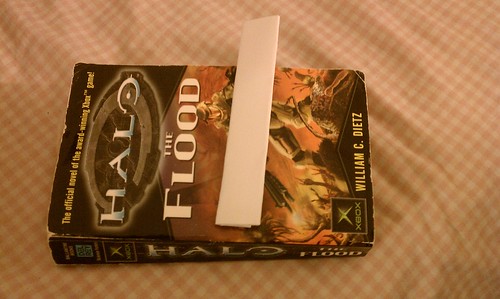
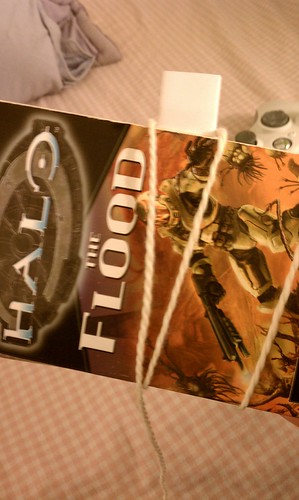
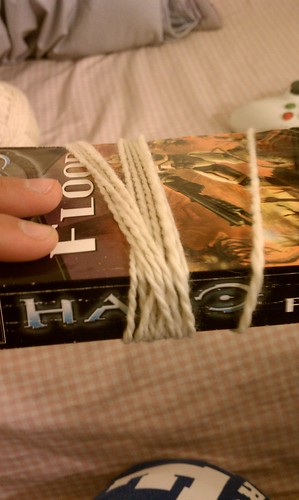
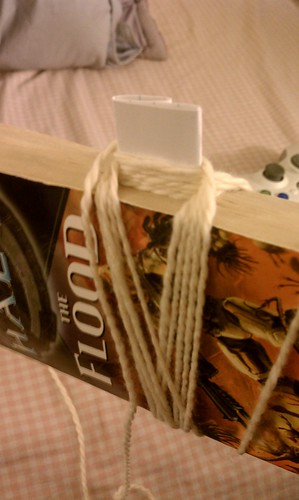
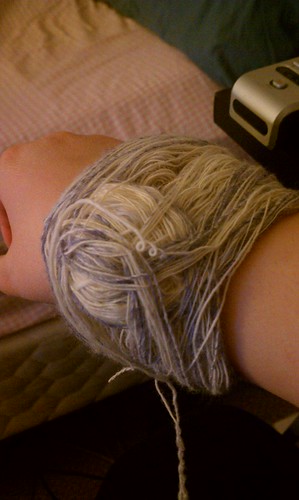
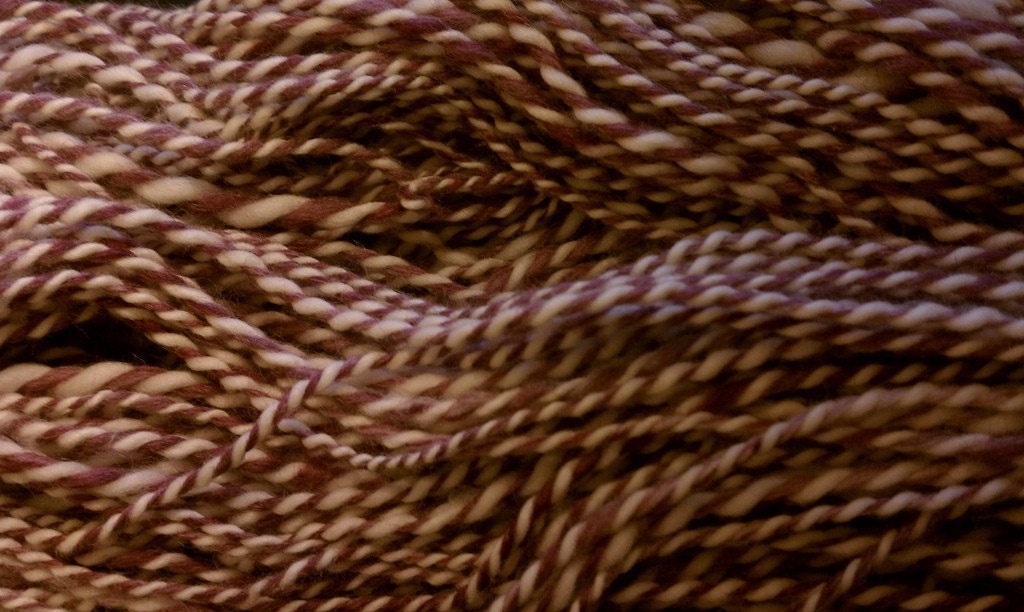
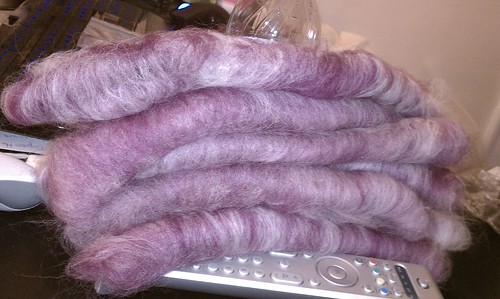
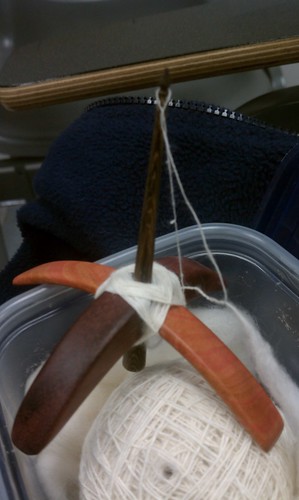
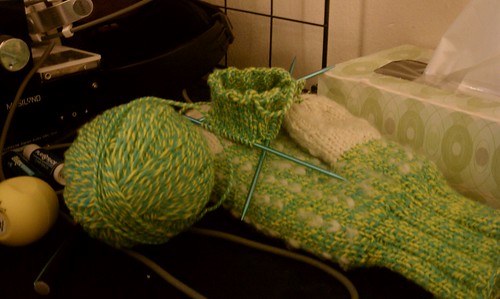
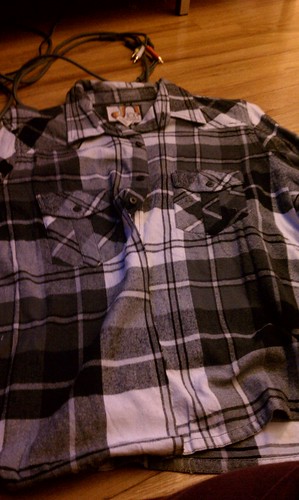
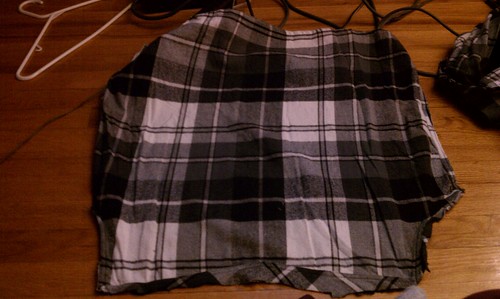
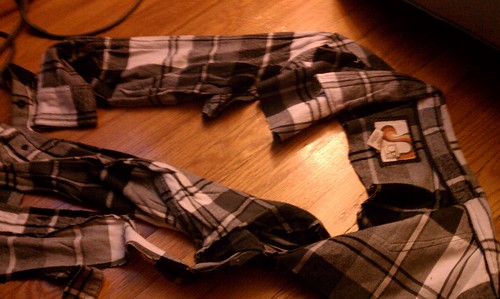
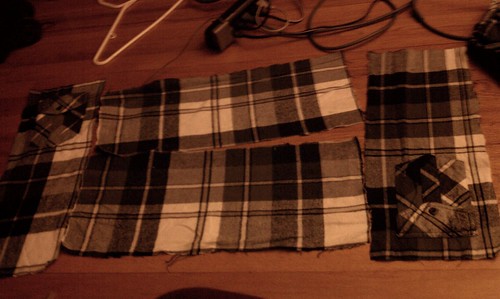
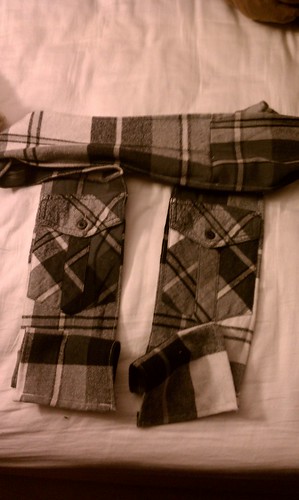
two C4Bs needed to be changed to C4Fs in row 6 and 14 or else the cables don't look right. Here's what the scarf looks like


roving inventory

I just cleaned up my roving collection, pre-drafting and rolling it all into little nests except my giant bag of merino. Looking at all my roving in one place made me feel like one of those crazy people who just buys more stuff then they could ever use in their lives. I should do some spinning today

since I like photos here's the giant pile of bags I ended up with

Wednesday, January 5, 2011

lining the Sean scarf

This scarf is taking FOREVER, it's fun to knit but I feel like I've been working on it for so many hours and I'm still less than half done, it's about 3 feet long right now. I made the lining for the scarf today for a few reasons, to stop knitting for a little while and because I wasn't sure how long I could make the lining so I figured that should get finished first.


Sean and I found a 12 dollar flannel shirt at walmart and he liked the idea of putting pockets into the back of the scarf so we got it. Here's some photos of me cutting it up on my bedroom floor and almost cutting my brother's DS charger cable in half because it was on the floor too. oops

The back of the shirt 
These are the sleeves and the collar that got cut off, this is the part that ended up as scraps (no idea what to do with it)


here's the usable parts

So I took the usable parts and hemmed it all, sewed it together while trying to line up the stripes as nicely as possible and this is what I got, one panel ended up a little uneven.


- Jen